6 steps to competition turnout perfection
Posted by Nicola Woodstock on 24th Mar 2016
You know what they say: look smart, think smart. Well, we believe that if your horse looks great when entering the ring, you are more likely to ride him like he is the best thing since sliced bread.
So for us, turning our horses out to the highest possible standard, whether it’s for an international eventing competition or an unaffiliated dressage test down the road, is pretty much as important as the training that goes into getting you to the competition in the first place.
So, here are some top tips to make your horse look the part and stand out from the crowd.
1. Bath
Try to avoid washing your horse’s mane immediately before you want to plait him though, as you want some natural grease to help create great plaits.
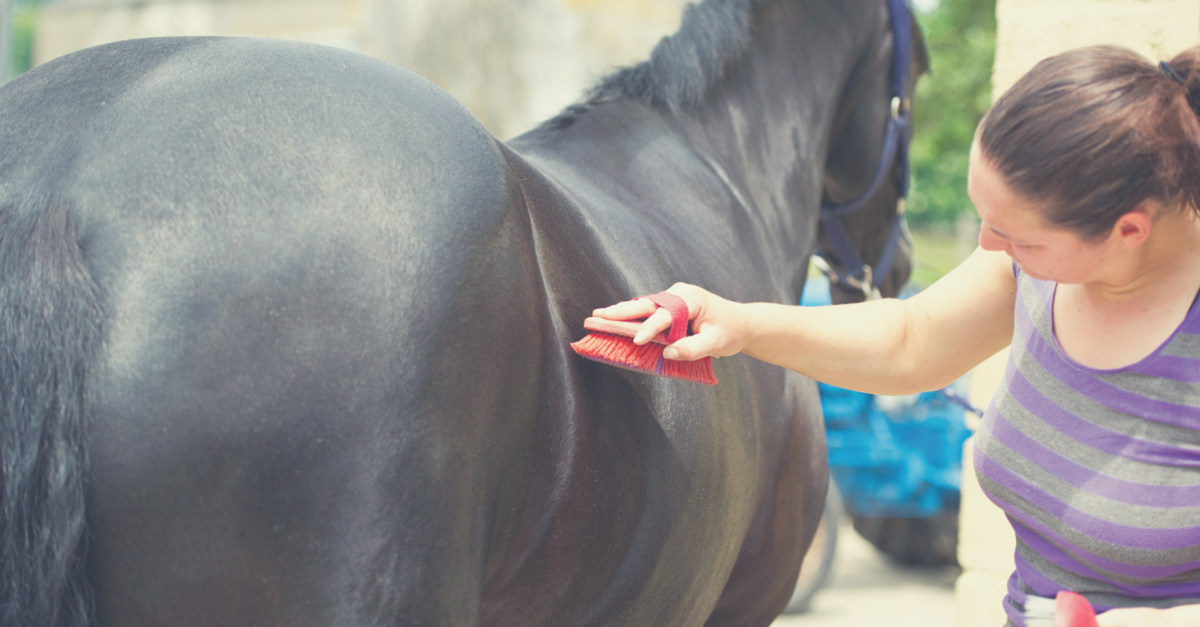
2. Groom
Once your horse is dry, use a body brush and a metal curry comb to give him a good groom. Once brushed and combed, use a stable rubber all over his body to help flick away unwanted dust – this should also help create a good shine.
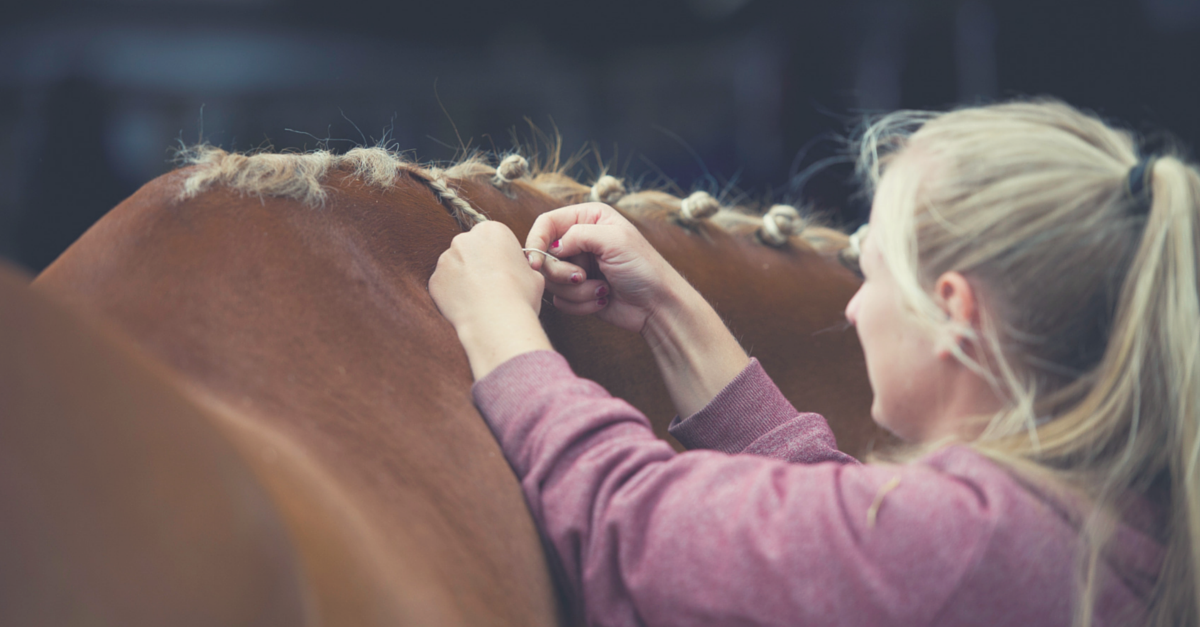
3. Plait
Using a slightly damp sponge, wet your horse’s mane. Section your plaits off using a metal mane comb, ensuring each section is of equal spacing. Also, try to make sure that each ‘parting’ between plaits is in a straight vertical line – this will help the overall appearance. Now plait each section down, keeping them nice and tight. Next, you will need to roll the ends of the plait up underneath and secure with either a rubber band or a needle and thread if you are familiar with this method.
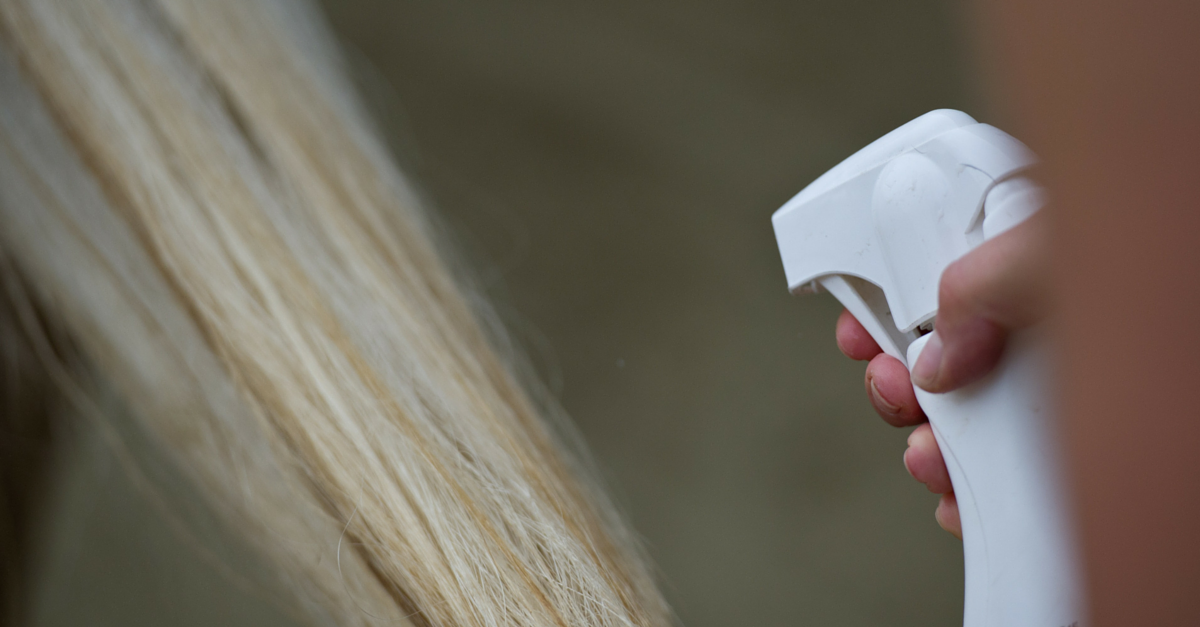
4. Tail
Apply mane and tail conditioner to the tail of your horse and brush through, but don’t apply to the mane as this will make plaiting virtually impossible. Depending on how you like the length of your horse’s tail, give it a trim with some scissors so that the end is nice and square. We like ours to be halfway between the horse’s hind fetlock and hock. If you like, plait the tail downwards from the dock and leave until just before you get on your horse at the show – this will create a nice ‘wavy’ effect.
5. Quarter-marks
You can create various quarter marks by either using a stencil or going free-hand. To go free-hand, dampen a tightly bristled body brush with water. For vertical lines coming down from the spine towards the top of the horse’s hind leg, just swipe your brush from the spine, downwards towards the ground. Most horses look fine with two or three evenly spaced swipes. Don’t worry about the ‘end’ of the stripe, as you will make one swipe at the end with the brush with the hair growth so the ends of the stripe are clean and uniform.
If you are daring enough to try a shark’s tooth pattern at the top of the horse’s hind leg, start by swiping a stripe from above the stifle to the top of his tail. Your second swipe will be from about the hip to the bottom of the hamstring; this makes a sideways V (your first shark tooth). Now swipe just below your first upwards swipe, following its line. Then swipe in the downwards motion, mimicking your first downward line, to create your second tooth. It all sounds very complicated but the good thing is that if you mess up you can just brush over it and start again. Practice makes perfect!

6. Finishing touches
Now all you need to do is give the hooves a lick of hoof oil and if you want to go all-out, carefully apply baby oil to the muzzle and around the eyes to make every inch of him shine.
Of course, some turnout requirements will vary depending on the discipline you are competing in, especially if you are showing, so it’s worth checking beforehand.